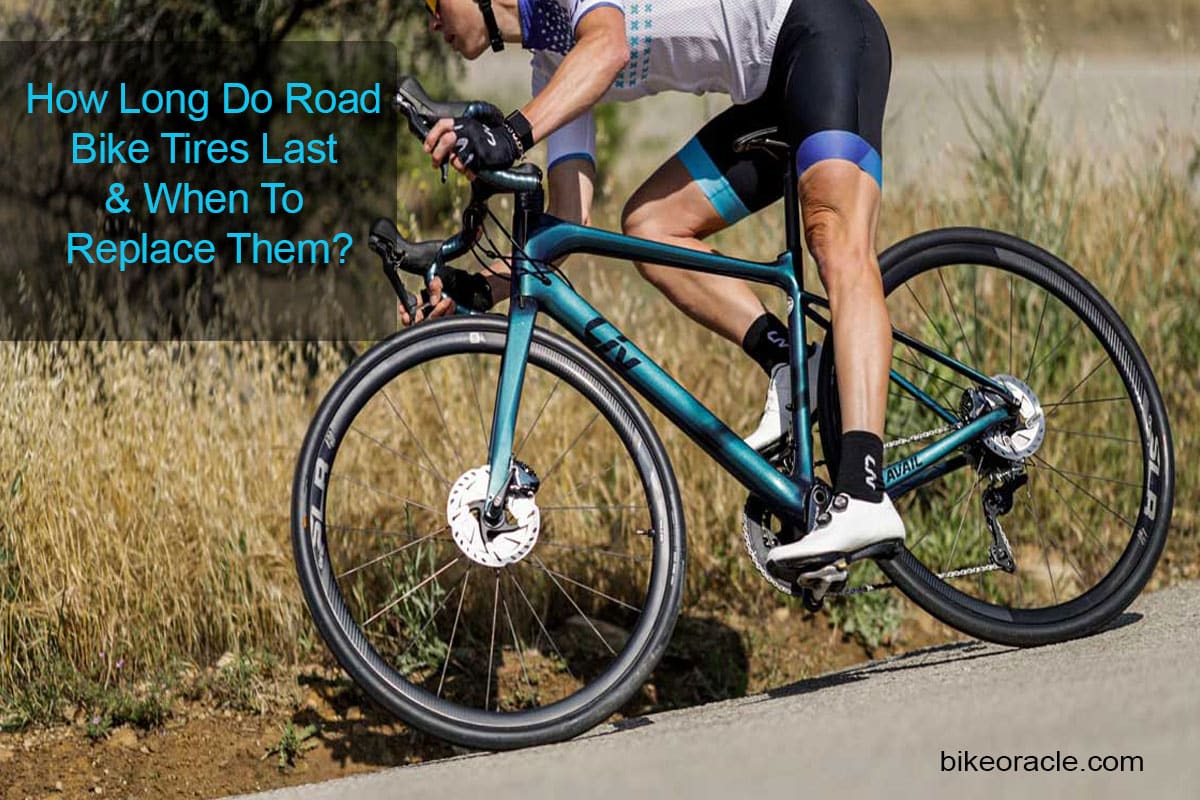
How Long Do Road Bike Tires Last & When To Replace Them – A Detailed Guide
Road bike tires play a crucial role in ensuring safety and performance while cycling. Understanding the factors that influence the lifespan of road bike tires is important for cyclists.
We’ll discuss by covering factors that affect their lifespan, signs of wear, estimating mileage, maintenance tips, tire replacement guidelines, and much more.
So, keep reading to stay on the bright side of life!
Understanding Road Bike Tires – The Basics
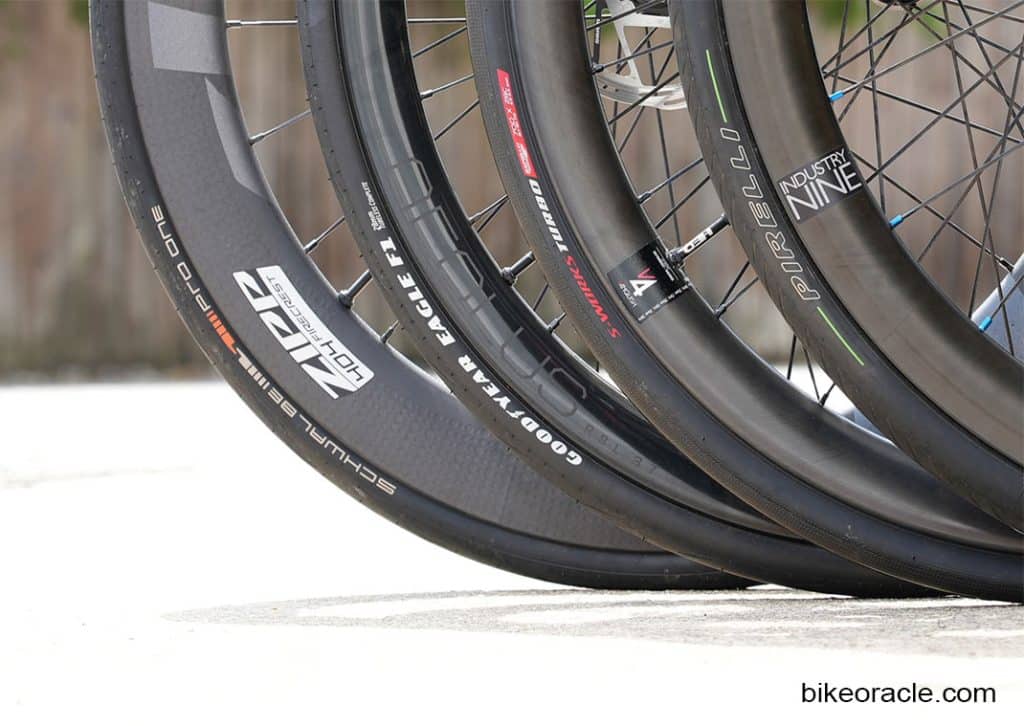
Road bike tires consist of various components, including the casing, tread, beads, and inner tubes (in the case of clincher and tubular tires). Different types of road bike tires cater to specific preferences and riding styles, including clincher tires, tubular tires, and tubeless tires.
Factors Affecting Tire Lifespan
Tire construction and materials significantly impact durability and longevity. High-quality materials and robust construction tend to result in longer-lasting tires. Here are the factors that affects the lifespan of road bike tires:
- Riding conditions play a significant role in tire wear.
- The road surface, such as rough or smooth pavement, affects tire life.
- Weather conditions, including temperature and precipitation, can impact tire wear.
- The terrain, such as hilly or flat routes, affects tire stress and wear patterns.
- Rider weight and riding style also contribute to tire wear.
- Heavier riders and aggressive riders may experience faster tire degradation.
- Proper maintenance and care, such as regular inspections and correct tire inflation, can extend tire lifespan.
Understanding Tread Patterns and Performance
- Different types of tire tread patterns: Explore the various tread patterns available and their suitability for different road conditions, such as slick, semi-slick, and knobby tread designs.
- How tread patterns affect road grip: Learn how the design of the tire tread influences traction and control, especially on wet, muddy, or gravel surfaces.
- Impact of worn-out tread on performance: Understand how worn-out tread affects braking efficiency, cornering grip, and overall handling, potentially compromising rider safety.
How Long Do Road Bike Tires Last – Answered
A. Average Lifespan of Road Bike Tires
Explore general recommendations for when to replace road bike tires based on mileage or time intervals.
- Road bike tires typically last between 2,000 and 5,000 miles.
- However, the lifespan can vary depending on various factors such as road quality, tire quality, maintenance, and riding style.
- Monitor the condition of your tires regularly and replace them when signs of wear become evident.
B. Factors that influence tire longevity
Understand how factors such as tire quality, riding conditions, maintenance, and climate affect tire lifespan.
- Riding conditions: Frequent exposure to rough or abrasive surfaces, such as gravel or poorly maintained roads, can accelerate tire wear.
- Tire quality: High-quality tires with durable compounds and robust construction tend to last longer than lower-quality options.
- Maintenance: Proper tire inflation, regular cleaning, and avoiding harsh chemicals can help extend tire lifespan.
- Climate: Extreme temperatures, prolonged exposure to sunlight, and excessive humidity can affect tire durability.
C. Estimating Tire Mileage
General guidelines suggest that road bike tires can last from 2,000 to 5,000 miles, depending on various factors. Several factors should be considered when estimating tire mileage.
- Tire type and quality, with higher-quality tires generally lasting longer.
- Riding conditions, including road surface, weather, and terrain, impact tire wear.
- Maintenance practices, such as regular inspections, correct tire pressure, and cleanliness, can affect tire longevity.
D. Expected mileage for different tire types
Gain insights into the average mileage you can expect from various road bike tire types, including clincher, tubular, and tubeless.
- Clincher tires: Typically last between 2,000 and 4,000 miles, depending on the riding conditions, brand and model.
- Tubular tires: Known for their durability, tubular tires can surpass the 4,000-mile mark before replacement is necessary.
- Tubeless tires: With their puncture resistance and robust construction, tubeless tires can last between 3,000 and 6,000 miles.
When To Replace Road Bike Tires – Explained
I. Signs of Tire Wear
If you are facing issues with your bike tire, it’s high time to check out if your bike tire is suffering or not. Visual inspection is an effective way to determine tire wear. Let’s find out the signs of probable tire wear!
- Tread wear indicators are small raised bars that become visible as the tire tread wears down.
- Sidewall damage, such as cuts, bulges, or cracking, indicates the need for tire replacement.
- Cracks or cuts on the tire tread compromise tire integrity and should be addressed promptly.
- Loss of performance can be an indicator of tire wear.
- Decreased grip, particularly in wet conditions, suggests worn-out tread and reduced traction.
- Increased rolling resistance may occur when the tire tread is significantly worn, leading to slower speeds and decreased efficiency.
- Poor puncture resistance, evidenced by frequent flats, indicates tire wear and decreased durability.
- Look for the wear indicators on the tire surface to determine if the tread is worn beyond acceptable limits.
- Inspect the tire for any visible cracks, cuts, or deformities, as they can compromise the tire’s structural integrity.
- Notice any loss of grip or poor traction while riding, especially on wet or slippery surfaces, which could indicate worn-out tires.
II. Determining Tread Wear
- The “penny test” and other visual indicators: Use the popular “penny test” to gauge tire tread depth, or look for visual indicators such as wear bars or tread wear indicators provided by the tire manufacturer.
- Tread wear indicators on tires: Understand the purpose and location of tread wear indicators on the tire sidewalls, which indicate when the tire should be replaced.
- Inspecting tire sidewalls for wear: Check the sidewalls for any signs of damage, bulges, or cracks, as these can indicate tire degradation.
III. Choosing the Right Replacement Tires
Now that you know how long do road bike tires last and when to replace road bike tires, it’s time to choose the right pair of tires for the replacement procedure. Here are some key factors that you need to consider before choosing the replacement tires:
- Understanding tire sizes and compatibility: Familiarize yourself with tire sizing conventions and ensure compatibility with your bike’s rim width and frame clearance.
- Different tire types for various road conditions: Consider the specific road conditions you ride on and choose tire types that offer optimal performance and grip.
- Factors to consider when selecting new tires: Evaluate factors such as puncture protection, rolling resistance, weight, and grip levels to find the right balance for your needs.
How To Replace A Road Bike Tire – DIY Tire Replacement
Here is a complete step-by-step procedure for replacing road bike tires on your own without wasting hundreds of bucks.
A. Tools required for tire replacement
Here is a compiled list of essential tools needed for removing and installing road bike tires.
- Tire levers: Used to remove the tire from the rim.
- Pump or CO2 inflator: Needed to inflate the new tire once it’s installed.
- Allen wrench or screwdriver: Required to loosen and tighten the wheel axle or quick release skewer.
- Optional: Rubber mallet or soft hammer to aid in seating the tire onto the rim.
B. Step-by-step tire removal and installation guide
Follow this detailed guide for removing the old tire and installing the new one correctly.
- Prepare your workspace: Find a clean area to work on your bike. Consider using a bike stand or flipping your bike upside down for easier access.
- Release the brake: If your bike has rim brakes, release the brake tension by squeezing the brake calipers together and unhooking the cable from the brake mechanism.
- Remove the wheel: Loosen the quick release skewer or axle nuts, and carefully remove the wheel from the bike frame. Keep track of any washers or spacers that may be present.
- Deflate the tire: Use a valve core remover or press down on the valve to release all the air from the tire. This step makes tire removal easier.
- Insert the tire levers: Starting near the valve stem, insert one tire lever between the tire bead and the rim. Use another lever a few inches away and pry the tire bead over the rim, working your way around the wheel.
- Remove the tire: Once one side of the tire is off the rim, work the tire levers around the rest of the wheel until the entire tire is free from the rim. Be careful not to damage the inner tube.
- Inspect the rim and tape: Take a moment to inspect the rim for any debris or damage. If you notice any problems, address them before installing the new tire. Check the rim tape, which protects the inner tube, and ensure it is intact and properly positioned.
- Install the new tire: Starting at the valve stem, place one side of the tire bead onto the rim. Using your hands, work the rest of the tire onto the rim, making sure it sits evenly and does not pinch the inner tube.
- Seat the tire bead: Inflate the tire slightly, just enough to give it shape but not fully inflate it. Check that both sides of the tire bead are properly seated on the rim. If necessary, use your hands or a rubber mallet to gently push the tire bead into place.
- Inflate the tire: Use a pump or CO2 inflator to fully inflate the tire to the recommended pressure stated on the sidewall of the tire. Check for any bulges or irregularities in the tire, indicating improper seating.
- Reinstall the wheel: Align the wheel with the frame dropouts or fork, and slide it back into place. Tighten the quick-release skewer or axle nuts securely. If you have rim brakes, ensure the brake pads are properly aligned with the rim.
- Test and adjust: Spin the wheel to check for any rubbing or misalignment. Test the brake function to ensure it engages and releases properly. Make any necessary adjustments before taking your bike for a ride.
C. Tips for a successful DIY tire replacement
Here are some useful tips and tricks to ensure a smooth and hassle-free tire replacement experience.
- Use tire levers with care: Be cautious not to pinch or puncture the inner tube with the tire levers. Use them gently and gradually to avoid damage.
- Check for debris: Inspect the tire, rim, and inner tube for any debris or sharp objects that could cause punctures or damage.
- Proper tire inflation: Always inflate the tire to the recommended pressure indicated on the tire sidewall to ensure optimal performance and safety.
- Seek assistance if needed: If you encounter any difficulties or are unsure about the process, consider seeking guidance from a knowledgeable friend or a professional bike mechanic.
D. Seeking Professional Assistance
- Benefits of professional tire installation: Consider the advantages of seeking professional assistance, including expertise, time-saving, and access to specialized tools.
- Choosing a reputable bike shop or mechanic: Research and select a trusted bike shop or mechanic to ensure quality tire installation and service.
- Additional services offered by professionals: Explore additional services that professionals may provide, such as wheel truing, tubeless tire setup, and expert advice on tire selection.
E. Recycling and Disposing of Old Tires
- Environmental impact of tire disposal: Learn about the environmental hazards posed by improper tire disposal and the importance of responsible tire management.
- Options for recycling or repurposing old tires: Discover various recycling programs and creative ways to repurpose old tires, minimizing their impact on the environment.
- Responsible tire disposal methods: Familiarize yourself with local regulations and guidelines for disposing of old tires safely and responsibly.
Top 3 Tips For Extending The Life of Your Tires
1. Proper Tire Inflation:
- Maintain the correct tire pressure according to the manufacturer’s recommendations.
- Use a reliable pressure gauge to ensure accurate inflation.
- Avoid underinflating or overinflating the tires, as it can lead to faster wear and reduced efficiency.
2. Regular Tire Inspection and Cleaning:
- Routinely inspect the tires for visible signs of wear, such as tread wear indicators, cuts, bulges, or cracks.
- Clean the tires regularly to remove debris that can cause punctures or affect tire performance.
- Use a soft brush or cloth and mild soapy water for cleaning, avoiding harsh chemicals.
3. Avoiding Harsh Riding Conditions:
- Steer clear of rough surfaces, potholes, and debris-ridden roads whenever possible.
- Choose routes with smoother road conditions to minimize tire wear.
- Consider using more durable tires specifically designed for challenging terrain or harsh weather conditions.
- Practice smooth riding techniques, such as gradual braking and cornering, to reduce unnecessary stress on the tires.
Frequently Asked Questions (FAQs)
How often should road bike tires be replaced?
Understand the general guidelines for tire replacement based on mileage and visual indicators. Tire replacement frequency depends on several factors, including mileage, wear indicators, and overall tire condition.
Can road bike tires be repaired?
Some punctures can be repaired using patches or sealants, but extensive damage or sidewall issues often require tire replacement.
What are the pros of different tire types?
Clincher tires offer convenience and easy maintenance, tubular tires provide a smoother ride and enhanced performance, and tubeless tires offer improved puncture resistance and lower rolling resistance.
Can punctured tires be repaired?
Yes, small punctures in road bike tires can often be repaired using a tire patch kit, sealing the puncture and restoring air pressure.
Can different tire brands and models be mixed?
While technically possible, it’s generally not recommended to mix tire brands and models on a road bike due to potential compatibility issues and variations in performance characteristics.
Is it worth investing in higher-end tires?
Investing in higher-end road bike tires can offer benefits such as improved performance, durability, and puncture resistance. However, the decision depends on individual cycling needs and preferences. Consider factors like budget and desired riding experience.
Conclusion
Proper tire care is vital for road bike performance and longevity. Understand tire lifespan factors, detect wear signs, and follow maintenance practices to enhance durability, safety, and ride quality.
Consider tire construction, riding conditions, and maintenance routines for mileage estimation. Replacement timing is crucial for optimal performance and safety. Recognize wear signs, and factors impacting tire lifespan, and follow maintenance guidelines.
Prioritize safety and performance, whether replacing tires independently or with professional help. Well-maintained tires unlock your road bike’s potential for an enjoyable cycling adventure.

![eBike Battery Not Charging? [Solved]](https://bikeoracle.com/wp-content/uploads/2023/10/eBike-Battery-Not-Charging-768x512.jpg)