How to sand a bike frame? [Step-by-Step Guide]
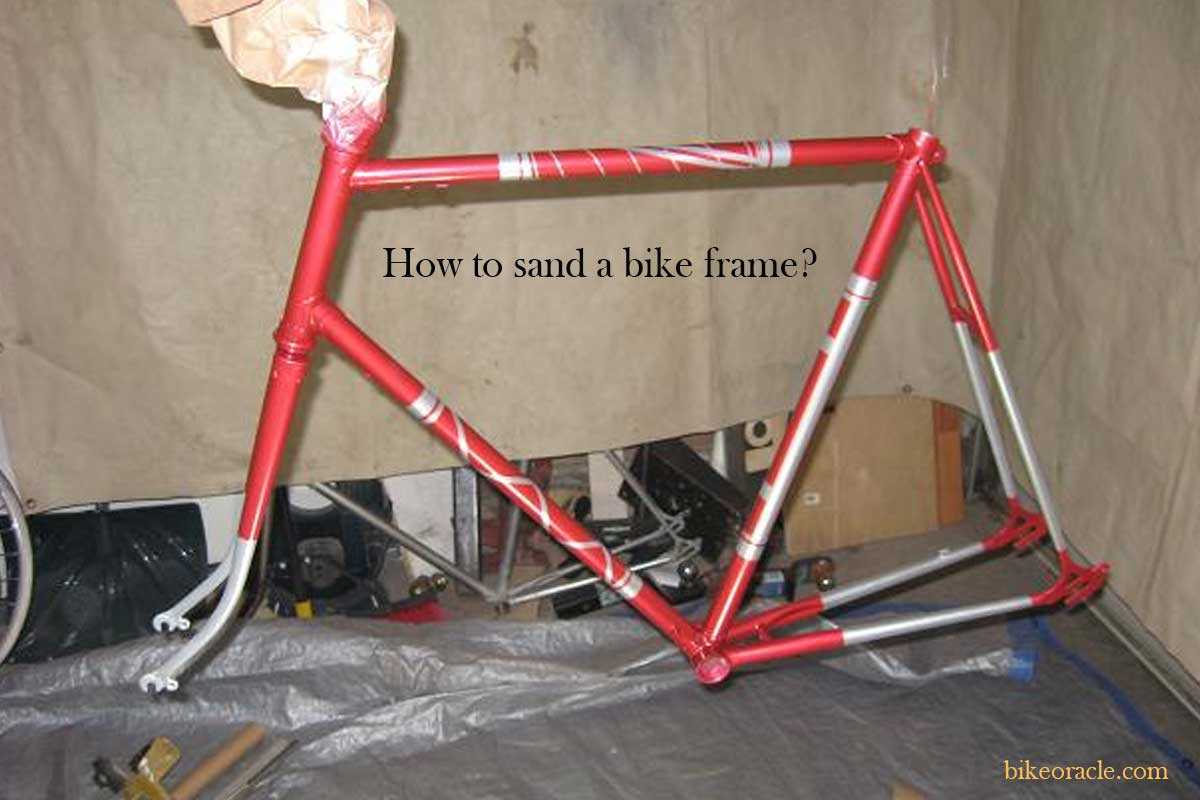
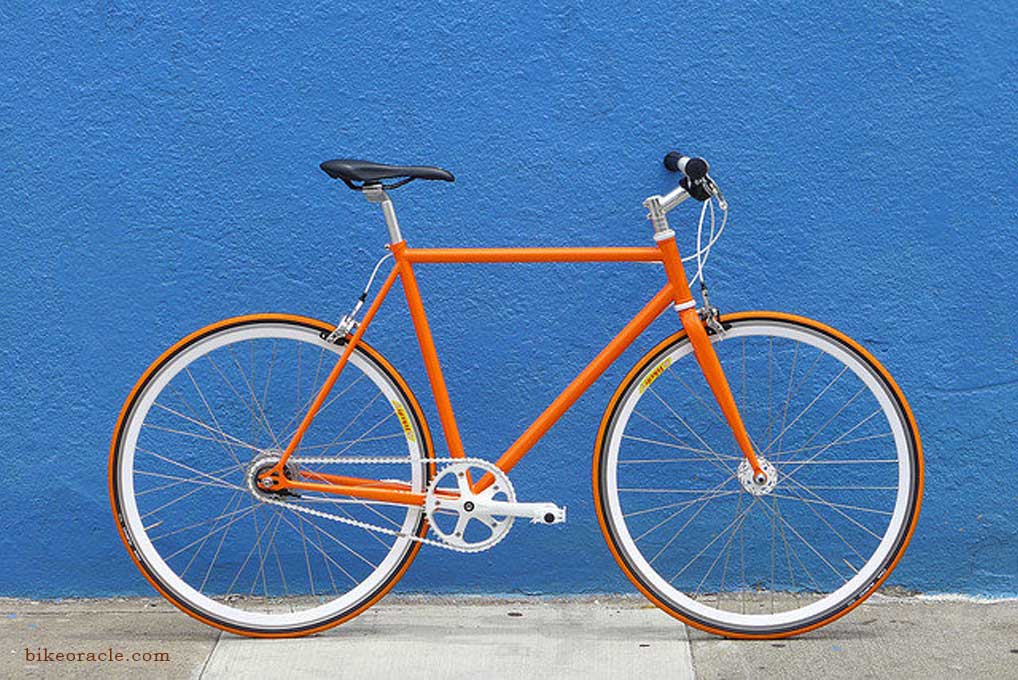
Can you imagine what your bike would look like if you restore it? Well, you don’t have to imagine it if you have the proper tools and know-how. If you’re curious about adding a new coat of paint or rubbing out some dings, you’re probably not going to be able to get your hands on the right tools for the job. Instead, you might have to buy a special sandpaper, an air compressor and an electric drill. Today’s bike-computer technology has made it possible for you to do all sorts of things with your bike and other accessories. In this article, I’m going to show you how to sand a bike frame properly.
Do you have to sand a bike before painting?
It would help if you sanded the bike before painting it for the best results. A properly cleaned-up frame is best handled with spray cans as they reduce overspray in high-traffic areas. This is especially important if you are trying to maintain the original condition of your bike.
It may seem obvious why: just because one abrasive removes old paint doesn’t mean it will remove all of the finish from your project. In fact, with high gloss finishes like chrome or chrome plating, the wheels and components should be left shiny with no scratches or marring from sanding.
If your project is a little more complicated, you may want to sand it before painting. If you’re after a subtle recoat or the old paint is very thick and stiff, resist that urge to get rid of the rust or marks with a sanding block.
The surface must be clean and dry for a primer to adhere properly, so a typical primer application will include sanding to some degree.
Here are some tips for painting over rusted, scratched, and heavy paint jobs:
1. Keep rust/scratches etc., at an absolute minimum before applying new paint.
2. Sand the surface before applying new paint. Lightly begin with 120-grit sandpaper and finish with 220 grit. Make sure not to sand into the metal. If there is rust present, you should also sandblast it.
3. Sand between coats as necessary for smooth results (tack off and reapply).
4. Make sure the area is clean of all sanding dust before painting. You can use a tack rag for this.
5. Use a rust inhibitor to prevent further damage from corrosion if the metal is exposed, e.g., on truck beds or tractor fenders.
6. Patches/repairs can damage your paint job when not applied correctly, so you should take your time and do it right (and make sure you use the same type of paint for touchups or patching).
7. If you want to repaint the whole item, give it a thorough cleaning with soap and water. If the surface is rusted/dirty, use steel wool to scrub it down before applying paint.
8. Pay attention to any colors under the paint, and ensure that you get all the paint off with sanding (especially on fenders). Raw steel can rust very quickly if moisture (e.g., rain or snow) is exposed.
9. If the paint is in bad condition and you want to change it, be prepared for a lot of work. It would help if you had a friend sand the areas where you plan to repaint so that there are no rough edges.
10. Use a primer before painting to bring out the color of your new paint job.
11. But you can also prime after painting, depending on the circumstances.
12. Any surface can rust, so make sure that you prime or use a rust-inhibiting paint to prevent it from happening in the first place.
13. You can use spray paint over existing paint with the help of a primer (especially if you want to change its color).
14. If spray paint is used, you should sand between coats for a smooth finish.
15. Ignore the directions on your spray paint can and use them sparingly. Too much paint will not give you a smoother finish.
16. If you have never worked with spray paint before, start with a test piece to see how to apply it correctly (and what will happen if you don’t).
17. After your first coat of paint has dried, remove dust with a tack rag or use compressed air.
How to sandblast a bike frame?
There are many ways to sandblast the frames.
The machine needs to be connected to compressed air for one of two methods: Manual or Automatic. The manual method requires a trigger gun to be primed and a pressure control valve which you adjust depending on the material you are using. This article will focus on the automatic method as it is more accessible.
Water must be added to the compressed air line for the machine to work. Some devices have a built-in water reservoir that can be used.
If your compressor does not have a built-in water reservoir, you need to connect a plastic air hose with ends that fit into the compressor and the sandblaster. I recommend buying 90-degree elbows at a hardware store because they are much more durable than cheap ones at Harbor Freight.
Before you fire up your compressor and start shooting sand, you must ensure that the machine is correctly connected to the air hose.
It is easy to connect and disconnect by simply twisting the hose. The drain valve at the bottom should also be open, so water can flow back into the tank if needed.
Once your machine is ready, you need to connect it to the frame. I use clamps similar to this.
One of these clamps will fit around one leg of the frame, and the other clamp will be used to attach that leg securely to a table or a piece of wood attached to a table. For the machine to work correctly without moving during the process, it must be very tight and sturdy on the table.
You can also use more than two clamps. For example, if the frame is too long to fit in one clamp, you could use two clamps on each side of the frame.
Once you have the clamps in place and your machine connected to the compressed air system, it is time to turn it on.
Turning on your compressor is very important because if you try to blast the frame without it being primed or connected to compressed air, it will not work correctly and may even damage your machine.
I like to open the drain valves on my sandblaster and my compressor so that I can fill up the water reservoir with paper towels. This is what they look like when they are full of compressed air/water:
Now we’re ready to sandblast!
One tip I want to share is determining the correct pressure for your project. If you use too much pressure, your blasting material may fly out of the end of your gun and hit something or someone in a random direction. This can be very dangerous and can cause serious injuries. The correct pressure will not damage your machine or the working frame.
I recommend getting a small gauge pressure tester to connect to your compressed air line before blasting a frame. This will tell you the correct amount of pressure that your machine is using and allow you to see if it is flowing back into the water tank from the drain valve. There are many ways to sandblast furniture, but this blog post will focus on sandblasting a frame with the machine.
The machine needs to be connected to compressed air for one of two methods: Manual or Automatic. The manual method requires a trigger gun to be primed and a pressure control valve which you adjust depending on the material you are using. This article will focus on the automatic method as it is more accessible.
Water must be added to the compressed air line for the machine to work. Some devices have a built-in water reservoir that can be used.
If your compressor does not have a built-in water reservoir, you need to connect a plastic air hose with ends that fit into the compressor and the sandblaster. I recommend buying 90-degree elbows at a hardware store because they are much more durable than cheap ones at Harbor Freight.
Before you fire up your compressor and start shooting sand, you must ensure that the machine is correctly connected to the air hose.
This is a picture of my machine connected to the compressed air line. As you can see, it is easy to connect and disconnect by simply twisting the hose off and on. The drain valve at the bottom should also be open, so water can flow back into the tank if needed.
Once your machine is ready, you need to connect it to the frame. I use clamps similar to this.
One of these clamps will fit around one leg of the frame, and the other clamp will be used to attach that leg securely to a table or a piece of wood attached to a table. For the machine to work correctly without moving during the process, it must be very tight and sturdy on the table.
You can also use more than two clamps. For example, if the frame is too long to fit in one clamp, you could use two clamps on each side of the frame.
Once you have the clamps in place and your machine connected to the compressed air system, it is time to turn it on.
Turning on your compressor is very important because if you try to blast the frame without it being primed or connected to compressed air, it will not work correctly and may even damage your machine.
I like to open the drain valves on my sandblaster and my compressor so that I can fill up the water reservoir with paper towels. This is what they look like when they are full of compressed air/water:
Now we’re ready to sandblast!
One tip I want to share is determining the correct pressure for your project. If you use too much pressure, your blasting material may fly out of the end of your gun and hit something or someone in a random direction. This can be very dangerous and can cause serious injuries. The correct pressure will not damage your machine or the working frame.
I recommend getting a small gauge pressure tester to connect to your compressed air line before blasting a frame. This will tell you the correct amount of pressure that your machine is using and allow you to see if it is flowing back into the water tank from the drain valve. The valve on the bottom is opened to allow fluid to flow back into the water tank when it is not blasting.
Once you are done sandblasting, clean the frame and ensure it is dry before painting. I like to use a brush for this step because you can reach between the cracks and remove any small particles or dust that may be in there.
You can spray paint and finish with polyurethane or something similar when it is scorched.
How much does it cost to have a bike frame sandblasted?
Although sandblasting a frame is a little more expensive than just putting some polish on it, the results are worth the price.
When your bike frame is sandblasted, it will be left with a highly smooth surface without any interior corrosion or other blemishes. It’ll be ready to be painted/powder coated, polished, or whatever you want.
The cost of sandblasting your bike frame will depend on the size of your bike frame and the type of product you want to use. You can get a block of sand or a pre-mixed blast sand formula in different sizes that you can use to sandblast your frame. It will cost anywhere from $1-$20 per pound, depending on the product/size you choose.
It would help if you got a block of sand and then used the sandblasting machine to spray the frame with the sand. This is usually the cheapest option since you pay for the sand only. If you want to ensure that your frame is blasted correctly, you can hire someone to do it professionally. It’ll cost more, but they will be able to get all the hard-to-reach places on your bike frame and ensure that it receives excellent cleaning.
After your bike frame is blasted, you’ll want to rinse it off and clean it with soap/water. If you’re going to clean it further and get rid of any rust or lose particles, then you can use an air compressor or an ultrasonic cleaner.
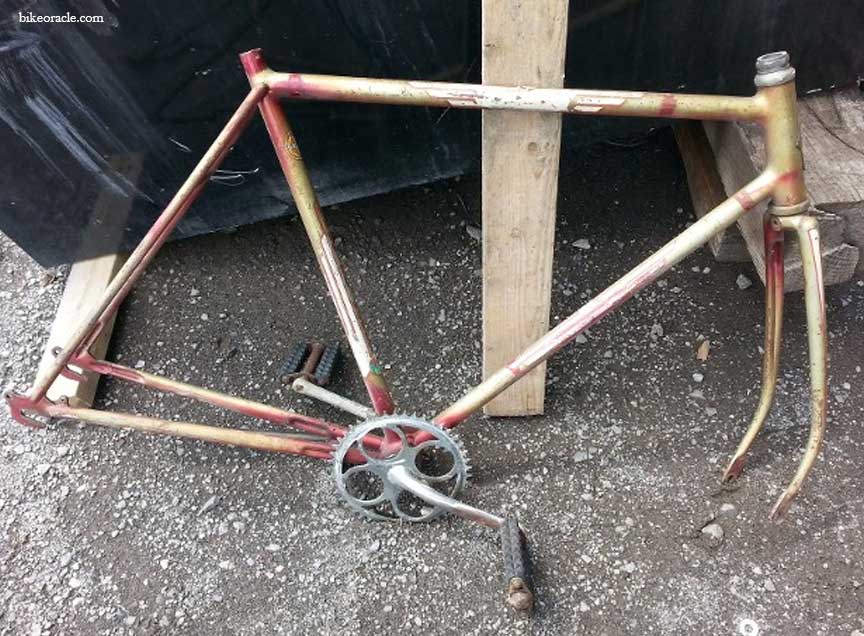
The process of sandblasting your bike frame is an ideal option if you have an old bike frame that needs a little bit of sprucing up. It will make the frame look deeper and much more attractive.
Do I need to sand in between coats?
As long as you sand in between coats, skipping a couple of coats is okay if the surface gets dry quickly. Here’s some good advice on how to know if you need to do that:
-Spray the surface with water before applying the first coat of paint. That will help reduce any drying time of the existing color, making it easier for you to get in all your coats quickly.
-Thoroughly clean off any old paint before applying a new coat.
-Get paint with a higher solvent content because it is easier to apply thinner coats.
-Make sure there is plenty of ventilation when applying paint indoors. Good air circulation helps the paint dry more quickly. Or you can dry the frame in the oven also.
I recommend sand between every coat because it adds a smooth, glossy sheen to your final result. You don’t have to do the whole surface: just put some extra effort into sanding in the most critical areas.
What grit sandpaper should I use?
Grits are used to measure the coarseness or fineness on an abrasive surface. Higher the grit number higher the fineness. The proper type of sandpaper is determined by the surface that is being polished.
When the surface being smoothed is coarse, you will use medium grit sandpaper. The steel sheet of the sanding block is designed to have a flat surface, so it can be held with both hands when sanding.
If the surface you are smoothing is smooth or has already been finished with thinner paper, go ahead and use fine-grit sandpaper. Medium or extra-fine grain may cause uneven scratches on the metal surface. Bellowed are the different grits of sandpaper and their usage:
40 to 80 Grit –This excellent sandpaper grit will remove visible scratches, so it cannot be used for minor evident coat scratches. It’s perfect for any rough sanding you need to do before bodywork.
120 to 180 Grit – When applying primer or paint to a surface, you’ll want to use sandpaper between 120 and 180 grit. This range is ideal for smoothing and leveling out scratches if you have already sanded the surface with a lower grit, like 80 or 100. You’ll even find it helpful when flattening out body filler on a panel.
320 to 400 – A grit range is the roughness of particles in abrasive material. The finer the particle size, the higher the grit number. One of these sandpaper ranges is 320 to 400. This specific range has a much more OK particle size than other ranges mentioned previously and is used for pre-primer sanding.
600 to 800 Grit – If you sand too aggressively or poorly, you could cause your paint to finish, chip off the surrounding surface area, or leave sharp edges. It would help to start with the lower grit first, then use 800 grit.
1000 to 1200 Grit – To understand how this sandpaper range is so good at removing base coat imperfections, you need to look at how it grades on a scale of 1000-1200 grit. Most important here is that a higher number means a finer level of coarseness, which means that it can get into tight spaces and remove layers with minimal effort on your part.
1500 to 2000 Grit – It’s essential when using multiple coats of paint, and your surfaces are uneven, so you go through each step in order. Otherwise, your skin won’t look uniform or last as long. Once you have removed all of the scratches and imperfections, take your 1500-grit paper and gently follow the same wet sanding technique you would use on your body.
Conclusion
If you have a well-balanced bike, you should be able to sand the frame easily. On the other hand, if your bike has dirt on it or it has been sitting in a garage for months and the paint feels kind of soft, you should take your time with each step of this process.
I hope this article was very helpful in teaching you the basics of hand-sanding a bike frame. You may find that some of these steps are common sense, but if you’re not sure about something, please send me an email. I will be happy to answer your questions.